To release your code at the end of a sprint, you will use GitHub's release mechanism naming your releases vS.n where S is the sprint number, n is a minor release number starting at 0. There is nothing you need to do in MyCourses. Your instructor will simply pull down your release tag and review the code directly; no messy ZIP files.
Use the instructions below to create your code release for sprints 1 through 4. You must do this before the submission deadline.
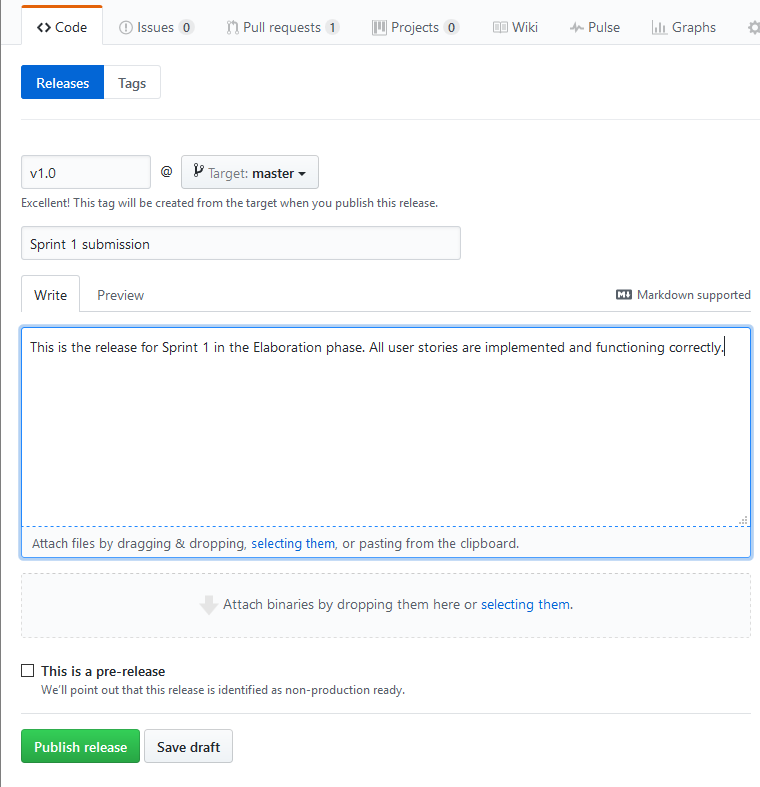
NOTE: once created a release tag cannot be altered; meaning you cannot change which commit point the release points to; it's frozen. Make sure that the code is in the shape that you want before you create a release. It is OK if you create early releases as a safety measure, and then make subsequent releases. You will be graded on the latest version of the vX release that was created before the due date. For each subsequent release, increment the minor release number, i.e the .n part of the release tag. Use the same release title, and indicate why a new release was created along with the standard information your instructor should know about the release, such as features that are missing or are buggy.

releases link in the row: commits | branches | releases | contributors. This will take you to a releases page similar to the screenshot below.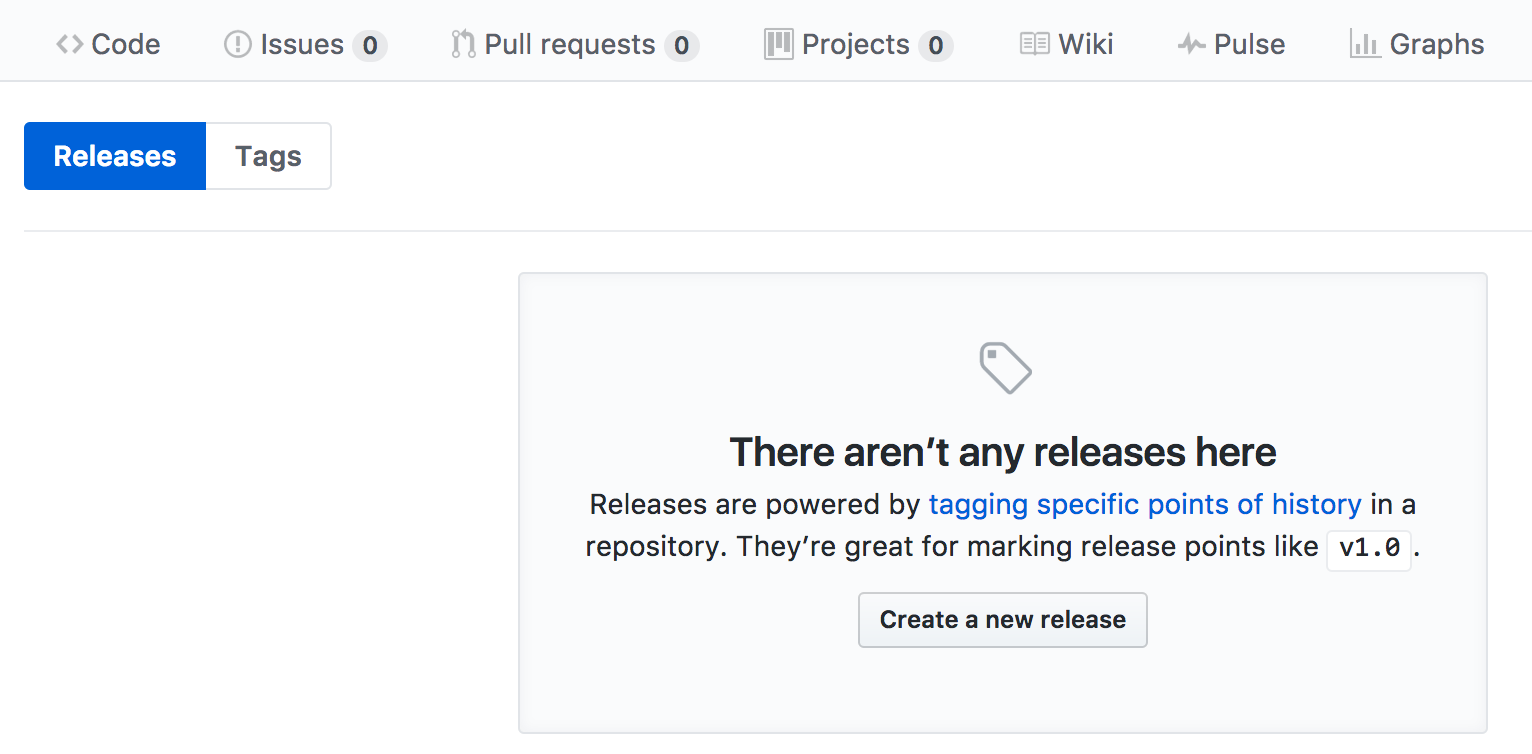
vX.0. where X is the sprint number. Start with a .0 version. Make sure that the title is clearly marked as the Sprint X submission, and provide an accurate description of the release including anything that your instructor should know about the release, such as features that are missing or are buggy. After the form is filled out click the Publish release button.